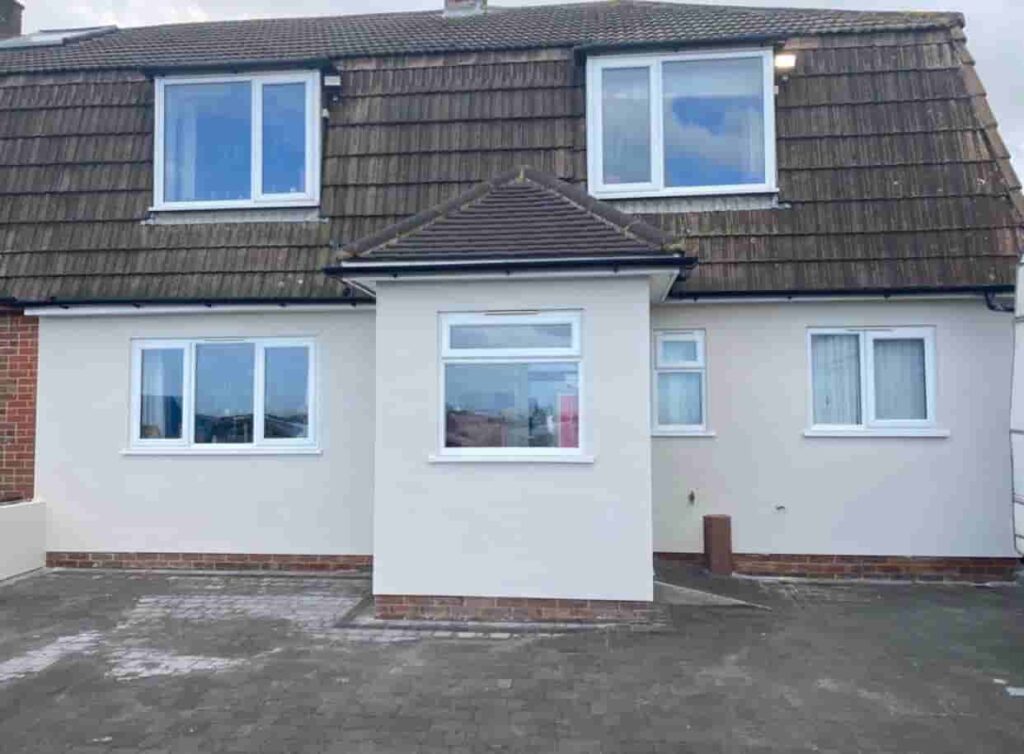
Introduction: Replacing a roof is a significant investment in your home’s safety, durability, and aesthetic appeal. At Eastleigh Roofing Repairs, we understand the importance of clarity and transparency throughout the roof replacement process. This detailed guide will walk you through each step, from initial assessment to final inspection, ensuring you know what to expect when undertaking this essential home improvement project.
Step 1: Initial Assessment and Planning
1. Inspection: A professional roofing contractor will thoroughly inspect your existing roof. This includes assessing the condition of shingles or tiles, checking for leaks, and inspecting the roof’s structural integrity.
2. Measurements: Accurate measurements of your roof’s dimensions are taken to determine the materials needed for replacement.
3. Cost Estimate: A detailed cost estimate is provided based on the inspection and measurements. This includes labour, materials, disposal of old roofing materials, and any additional services required.
Step 2: Choosing Materials and Scheduling
1. Selecting Roofing Materials: Discuss options with your contractor, considering factors such as durability, aesthetics, climate suitability, and budget. Popular choices include asphalt shingles, metal roofing, slate, clay tiles, and wood shakes.
2. Scheduling: Agree on a timeline for the project. Factors such as weather conditions and material availability may influence the start date.
Step 3: Preparation
1. Permits and Permissions: Check local regulations and obtain any necessary permits for roof replacement work.
2. Protection: Before work begins, ensure your property is protected. This includes covering plants and shrubs, moving vehicles from the work area, and securing outdoor furniture.
Step 4: Removal of Old Roofing Materials
1. Stripping: The old roofing materials are carefully removed, starting from the top down. This process includes stripping away shingles, underlayment, and any damaged or rotted roof deck sections.
2. Inspection: Once the old materials are removed, the roof deck is inspected for any underlying damage that needs repair before proceeding.
Step 5: Installation of New Roofing Materials
1. Underlayment: A waterproof underlayment is installed to provide additional protection against moisture.
2. Roofing Material Installation: Depending on the chosen material, new shingles, tiles, or panels are installed following manufacturer guidelines and best practices.
3. Flashing and Trim: Flashing is installed around roof protrusions (like chimneys and vents) to prevent water infiltration. Trim work ensures a neat finish around edges and corners.
Step 6: Clean-Up and Final Inspection
1. Debris Removal: All debris from the old roof is cleared away, including nails and other materials that may have fallen during installation.
2. Final Inspection: A thorough inspection ensures the new roof meets quality standards and complies with manufacturer warranties. At this stage, any necessary touch-ups or adjustments are made.
Step 7: Completion and Post-Installation Care
1. Completion: The roofing contractor documents the completed work, including warranties for materials and artistry.
2. Maintenance Advice: Receive guidance on caring for your new roof, including recommended maintenance schedules and tips for prolonging its lifespan.
Conclusion: Replacing your roof is a complex but essential process that requires careful planning, skilled labour, and quality materials. At Eastleigh Roofing Repairs, we are committed to delivering exceptional service and ensuring your satisfaction with every step of the roof replacement journey.
Call us on: 023 8235 7294
Click here to find out more about Eastleigh Roofing Repairs
Click here to complete our contact form and see how we can help you with your roofing needs.

